
Ihr braucht:
- eine Holzkiste mit flachem Deckel (gibts im Bastelladen)
- evt. Acrylfarbe und Pinsel
- T-Shirt Folie für den Drucker
- ein Bügeleisen
- Eine spiegelverkehrte Druckvorlage des Motivs in der Grösse des Deckels (meine gibt es hier)
Und so einfach funktioniert es:
1) Wenn ihr wollt die Kiste in der gewünschten Farbe anmalen und gut trocknen lassen (ca 24 stunden)
2) Das Motiv auf die aufbügelbare T-Shirt Folie drucken
3) die Folie auf die Grösse des Motivs zuschneiden
4) die Folie mit der Rückseite nach oben auf dem Deckel der Box platzieren
5) Das Bügeleisen auf die mittlere Stufe (aber ja ohne Dampf!!!) einstellen und das Motiv festbügeln. Es dauert meiner Erfahrung nach länger als die Angabe auf der Packung. Das Papier sollte überall richtig heiss werden. Je unregelmässiger es erhitzt wird desto mehr risse gibt es im Motiv, also desto älter sieht es aus. Das Papier kann erst abgezogen werden wenn das Motiv so wie überschüssiger Leim etwas unter den Rändern des Papiers hervorquillt. Wenn dies der Fall ist das ganze abkühlen lassen und das Papier abziehen et voilà.... fertig ist die Vintage-Shabby Chic Box :)
Gutes Krimskrams wegräumen
Juna
° ° ° ° ° ° ° ° ° ° ° °
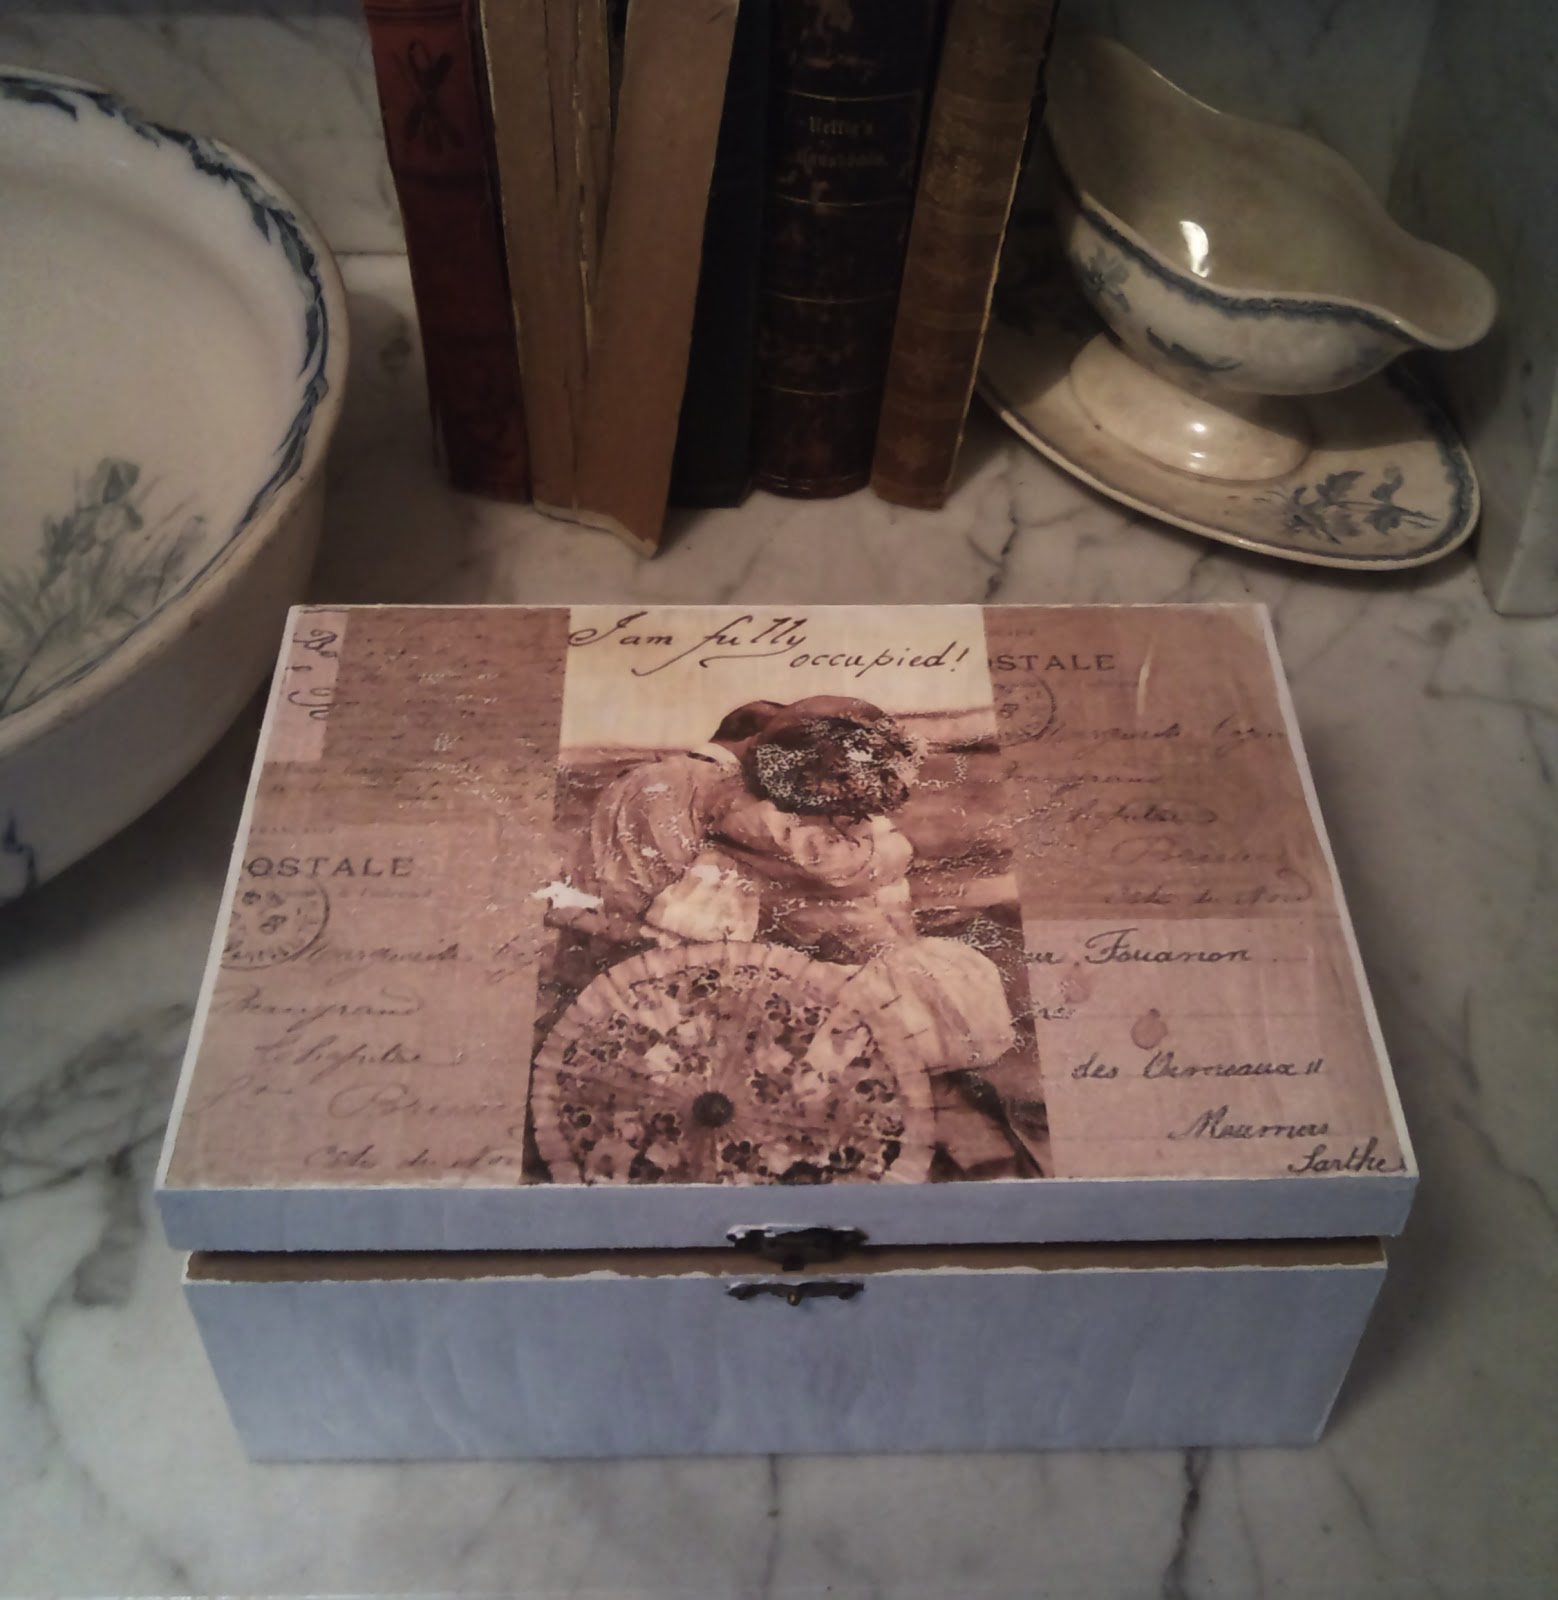
I have tons of knick knack which I like to make disappear in boxes ( so it at least seems as if I 'm a orderly person :P). That's why a while ago I couldn't resist to buy this wonderful wooden box. That was last March.... Since then it's been sitting on my shelf waiting to be decorated. So this weekend I finally sat down and started a little experiment. The result is a wonderful vintage shabby chic box which is extremely easy to do yourself.
You'll need:
- A wooden box with a flat top
- If you want to paint it, some paint in a color you like and a brush
- A sheet of transferpaper for T-Shirt printing
- A flat Iron
- A mirror-inverted template of your motive in the size of the top of your box( You can download mine here)
And that's how you do it:
1) If you want to paint the box the color you like and let it dry overnight.
2) Print the mirror-inverted motive onto your transfer paper.
3) Cut the transfer paper to the size of your box top.
4) Place the transfer paper face down on the lid of your box.
5) Iron with medium heat. In my experience it takes a while longer as indicated on the package. Make sure to not miss a spot! The paper should get really hot all over. The less regular you heat the paper, the more cracks appear, which means the older it looks. The paper is ready to be peeled off when the color of the motive squeezes out a little on all the edges ( it looks a bit as if one uses too much glue). If that's the case let the whole thing cool down and afterwards remove the paper very carefully.
And you got yourself a wonderful self made box :)
Have fun storing all that knick knack
Juna
Keine Kommentare:
Kommentar veröffentlichen